Less unfinished
Y’all. I’m back. Technically, I haven’t gone anywhere, I’ve just been busy. REALLY busy. Starting-an-architecture-firm busy. It’s true: my shingle’s hung, and business is good. More on that later.
“So, what’s been going on with the Ordinary House?” you wonder. “Surely you’re done with that kitchen by now – right?”
With my head hung in shame, I’m here to report that, no, the kitchen is still not finished. But it’s less unfinished!
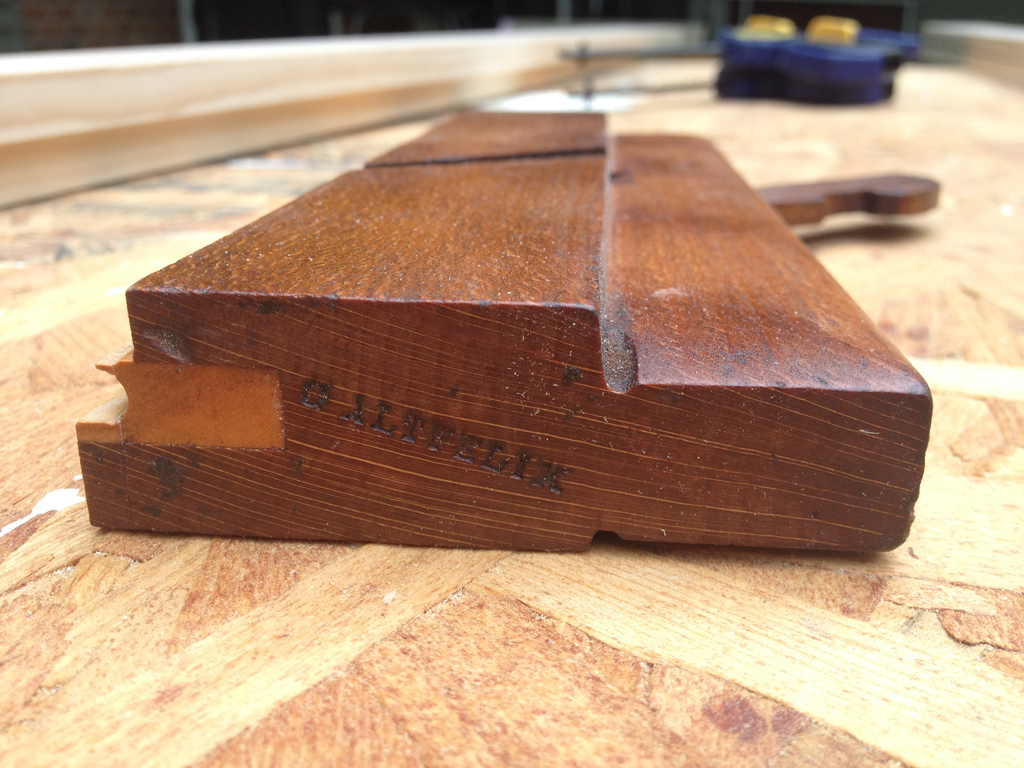
In my last kitchen update, I was using an old-fashioned hand plane to bead the edges of some trim stock, because self-flagellation seems to be my em-oh. When it came time to install the trim, I was confronted with a fresh challenge, another fantastic opportunity to take on something difficult to slow the project down.
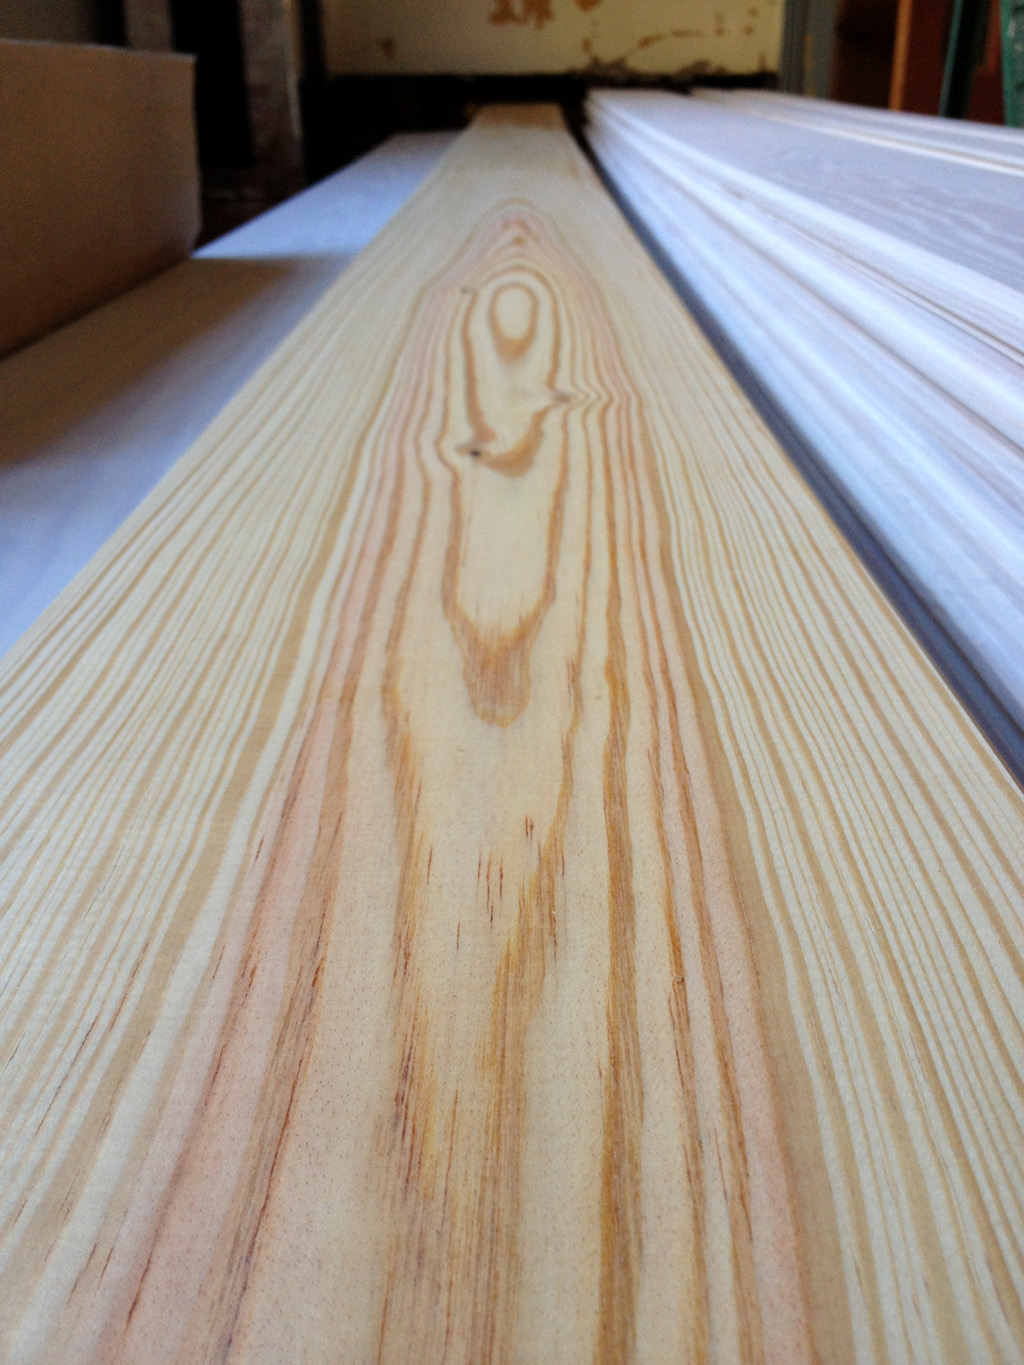
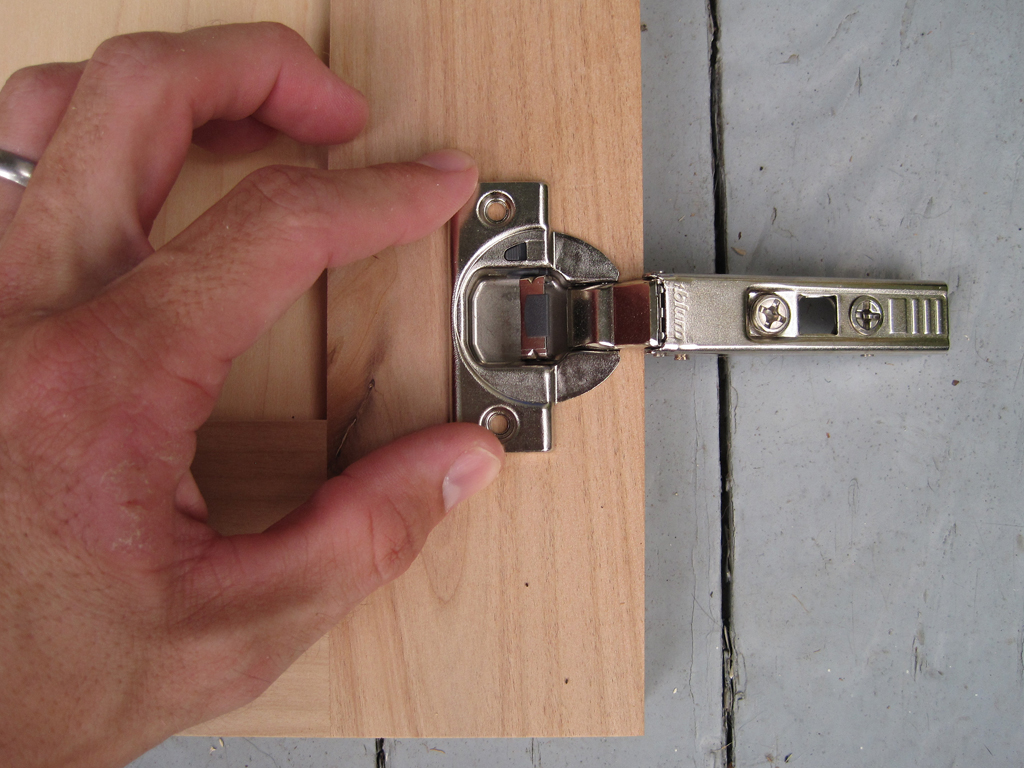
The inside edges of all my trim stock were beaded, like this:

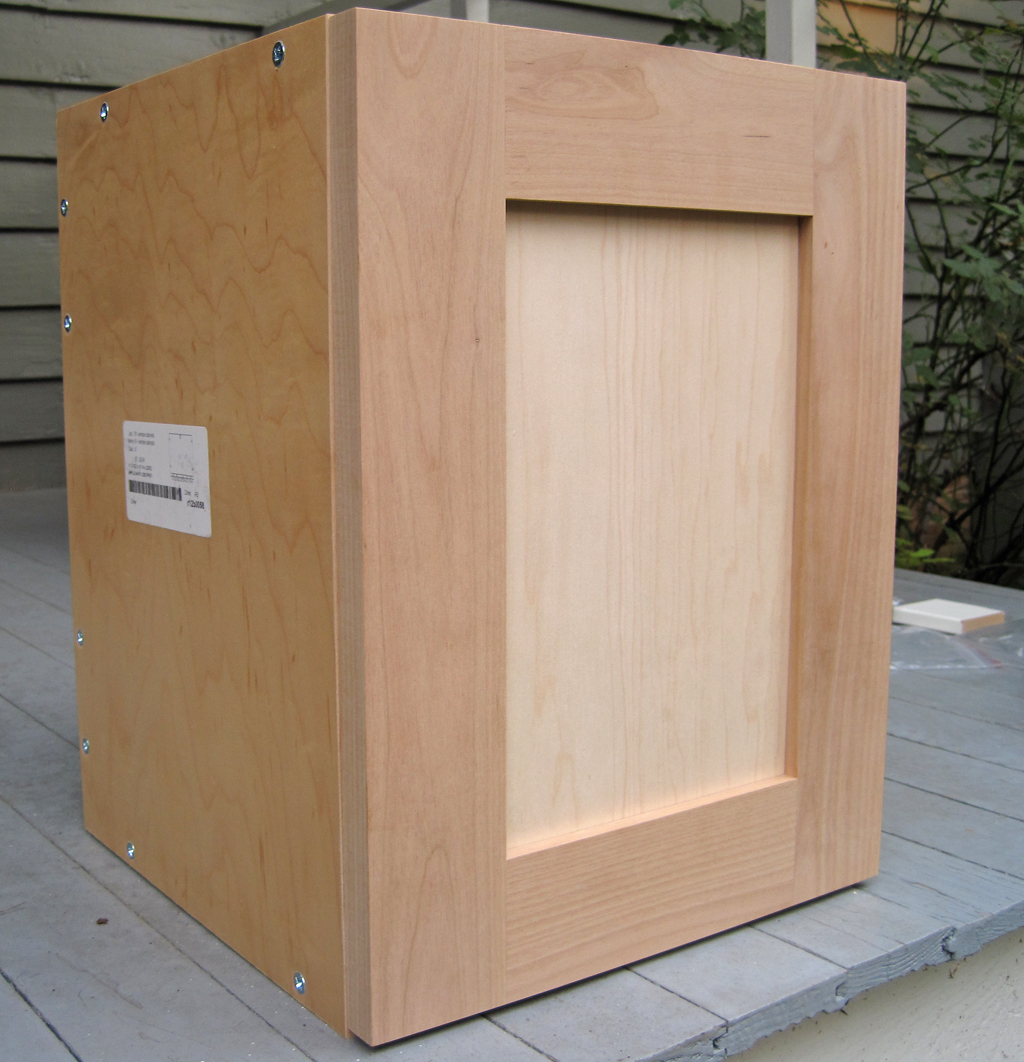
Trimming out a single door or window with beaded trim is easily accomplished with a miter joint, each end of the board cut at 45 degrees. It’s one of the most common joints used to join door and window casings, and most of you can probably see an example of one from where you’re sitting now:

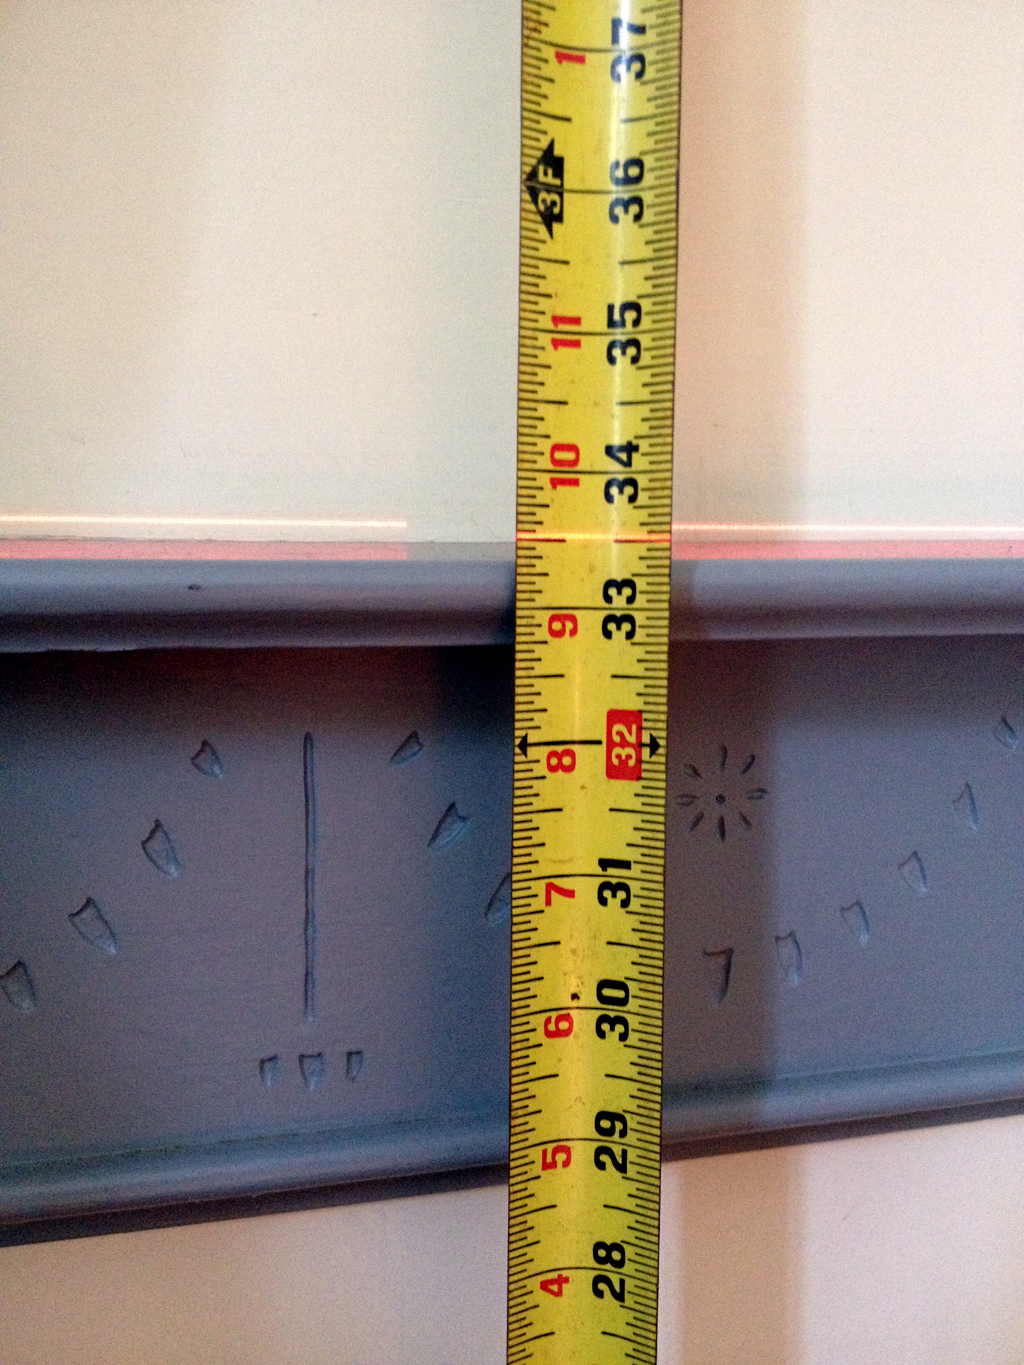
But, imagine a scenario when you need to join two pieces of wood that aren’t the same width – a miter joint doesn’t work any more:

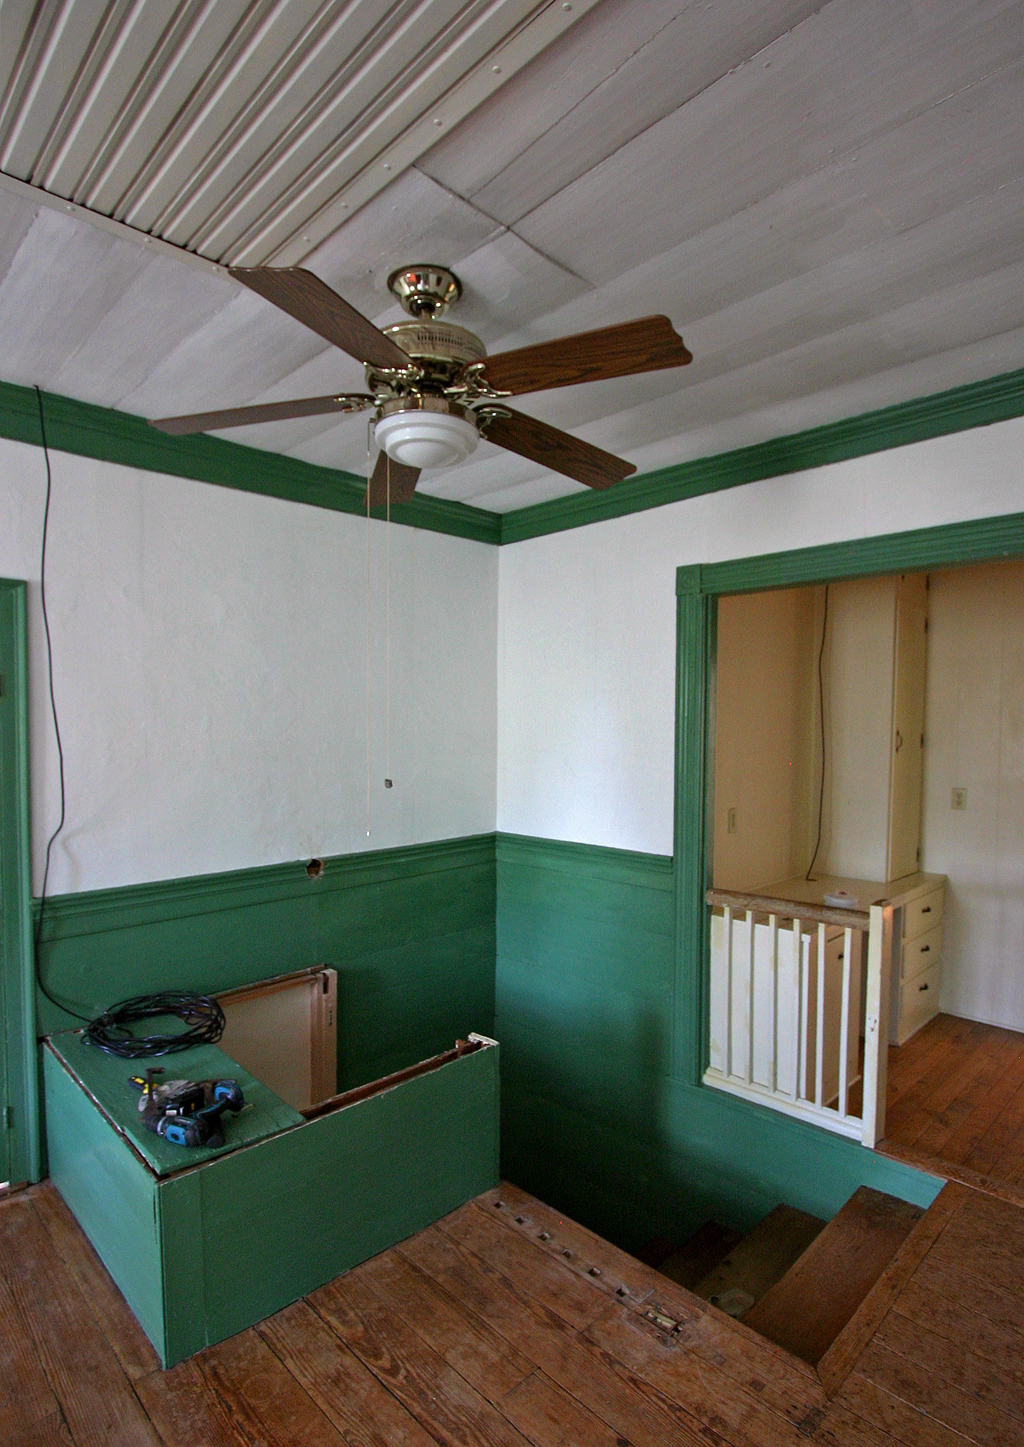
Or, what if you want to trim a group of windows with vertical mullions between each opening? With beaded trim, you can’t rely on a simple butt joint to join the boards. What to do?
Enter the jack miter, a type of joint that (appropriately) was used frequently in colonial woodwork. The jack miter is a very simple combination of a butt joint and a teensy-weensy miter joint that happens to be maddeningly difficult to achieve with modern tools. Here’s one I made where the trim between the top of a door opening and the bottom of a transom window intersects with a vertical casing. Notice how the bead is continuous around both openings:

They’re easy to miss, but the mitered portions of the joint only extend the width of the bead on the edges of the boards. Across the rest of joint, the boards simply butt together. Making those tiny mitered cuts required me to build a crazy contraption to guide the workpiece in the table saw. If you look closely you can see the pencil layout marks for the miters on the face of the board, and one of the miters already cut:

With the miters cut, I used a router to trim away the remainder of the wood. A little glue and a biscuit, and you’ve got a beautiful, stable joint that’s as fixed in its position as Wayne LaPierre at a gun control rally.

Aside from making a good-looking connection between two boards, cutting jack miters in my trim is a way to continue the tradition of craft that began with the folks who built the Ordinary House back in the 1700s. In each room of the original house, the fireplace mantels are joined with jack mitered boards:

I have endless admiration for men who knew how to make joints like this, without benefit of 1.6 zillion Google search results, YouTube videos, pre-milled lumber at Home Depot, and electricity to power a router and table saw. But, achieving a similar result to those men using 21st-century methods was a nice way to make a connection across the ages, and to do right by this long-neglected house.