
If these walls could talk
If these walls could talk, I imagine they’d ask me, “What the hell took you take so long to put us up?”
To which I’d snap back, “Well, if you would stand up straight, I might’ve had you looking pretty long ago.”
Yes, folks, after a long hiatus (from blogging, not building), I’m proud to report that there are bona fide walls in the kitchen. There’s a lot more than walls, in fact, but that’s a subject for another post.
Since I seem to be constitutionally incapable of doing anything the easy or inexpensive way, after insulation, instead of picking up the phone to call the drywall dude, I decided to torture myself by installing wood planks on walls so wavy you can get seasick just looking at them. And since that wasn’t enough of a challenge, I installed them on the ceiling too. On the spectrum of preservation orthodoxy, I have fairly liberal views, and don’t believe houses like ours should be allowed to stagnate as museum pieces. Even so, the idea of using drywall here seems downright heretical.
Our house has lots of simple horizontal plank walls, mainly wainscoting in secondary spaces. Many of the boards are impressively wide, measuring nearly 18″ across in some cases. In the days of old-growth wood from virgin forests, a piece of wood that wide could be counted on to lie flat. But nowadays, you’d be hard pressed to even find lumber that wide, and if you did it would almost certainly be warped, cupped, or bowed.
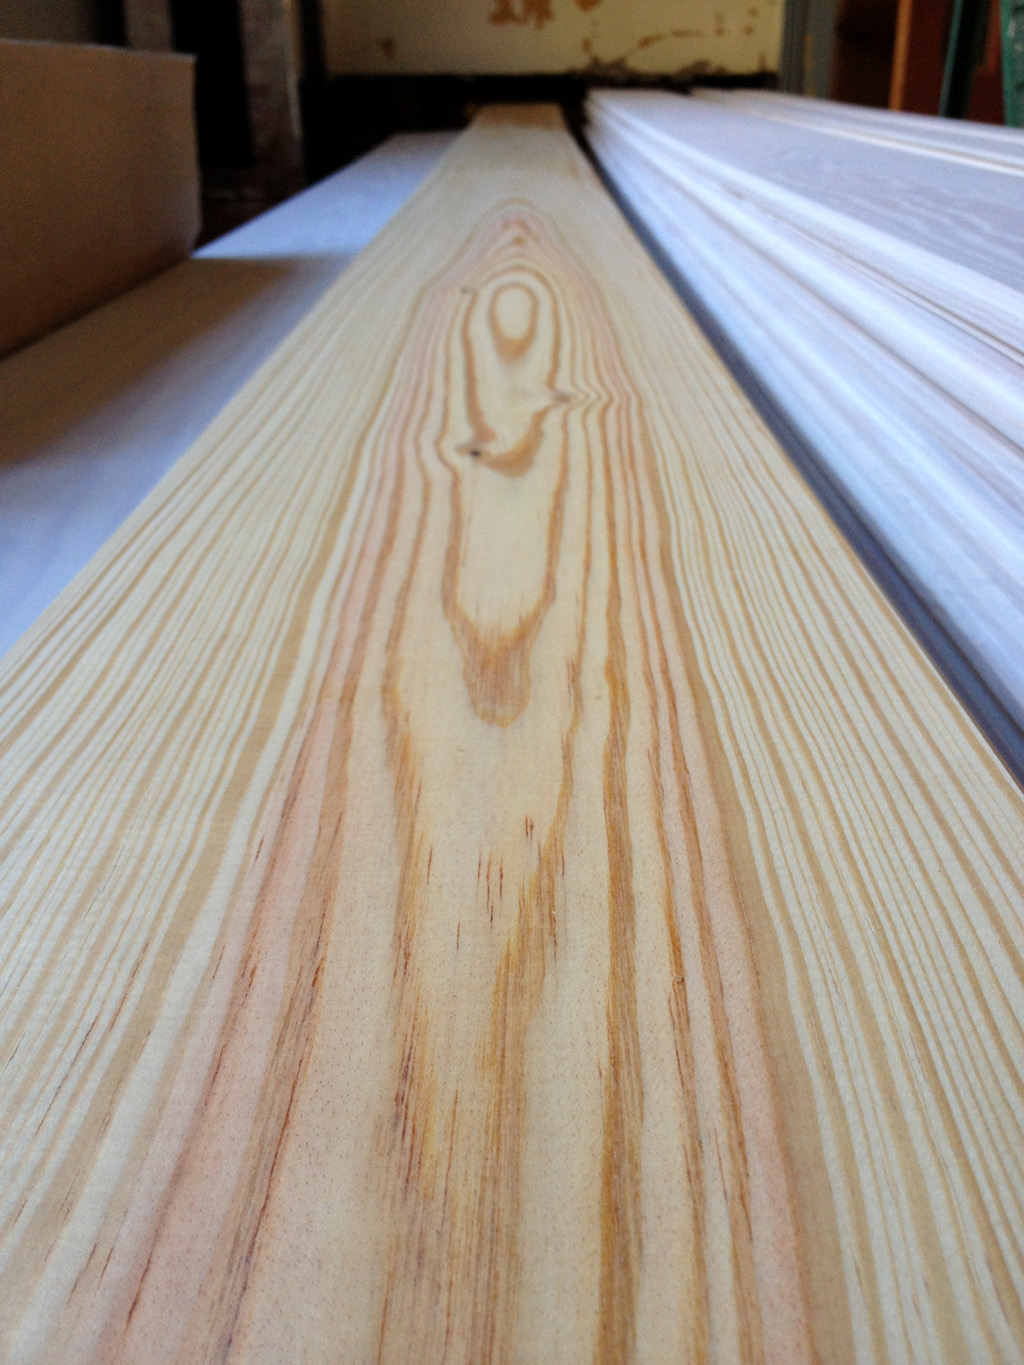
Eager to replicate this look, I set out to find the widest boards I could that wouldn’t completely break the bank. The local lumber yard was able to locate some beautiful Southern Yellow Pine tongue and groove planking. The material is intended for floors, but there’s no reason it can’t run up the walls or across the ceiling too. I was pleasantly surprised by the quality of the lumber; the boards were straight, flat, and nearly knot-free.
120 twelve foot boards were delivered to our driveway in long, plastic-wrapped bundles. The first lesson I learned about Southern Yellow Pine was that it’s heavy. Really, really heavy. I carried two of the six stick bundles into the house by myself before handing over my man card and asking my wife for help with the rest.
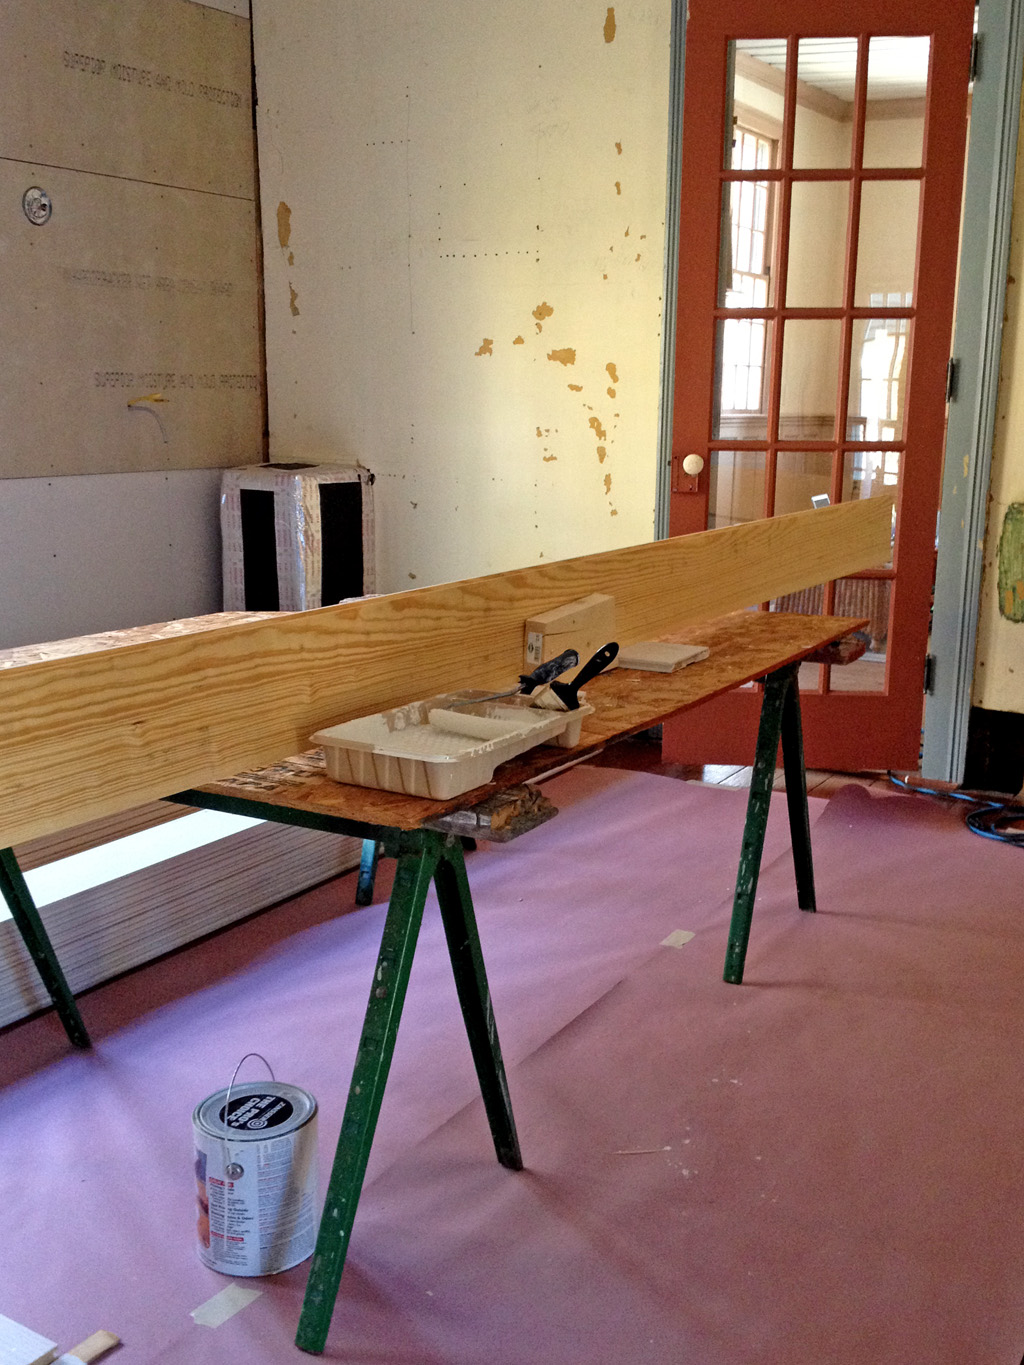
Since the house doesn’t have sheathing behind the exterior siding, I was intent on priming all six sides of every board to slow vapor transmission and prevent water vapor in the walls from damaging the paint finish on the paneling over the long term. Knots in pine wood are infamous for bleeding through paint, so I used a shellac based primer, Zinsser BIN, that will lock the pine resins in place for good. A priming station on sawhorses and a mini roller made the work go quickly, but it still took nearly four full days of mind-numbing priming to coat all the boards front and back.
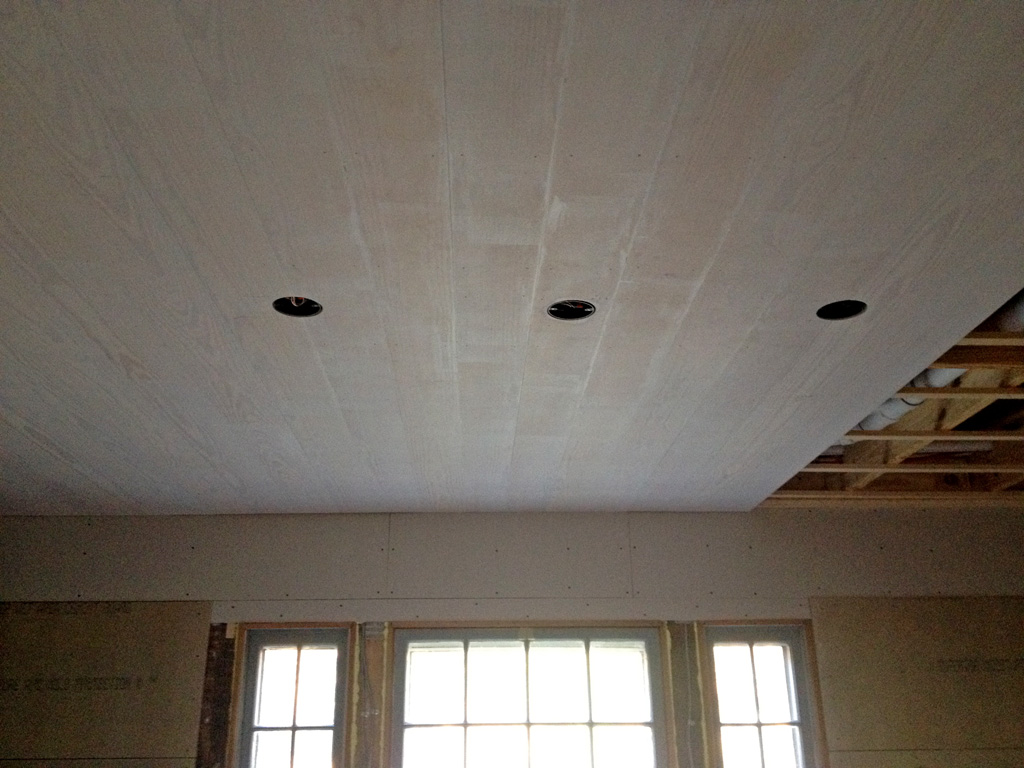
I started installation on the ceilings, which turned out to be relatively easy. Since the new false ceiling framing was perfectly flat and level, I was able to tack most of the boards in place with little trouble, aside from a few bowed pieces that took some persuasion to get straight. I built some jigs to act as a second pair of hands to hold the boards in place while I nailed them off. Most tongue and groove boards are blind nailed through the tongue so there are no visible nail heads. But with boards this wide, I was nervous that only one nail per board wouldn’t be adequate to keep everything in place, so I resorted to nailing through the face of the boards. This will make for some fussy prep work prior to painting, but at least I’m confident that the boards will stay put.
The walls were not so easy. First, I covered them with 1/4″ thick drywall to act as an air barrier. Siding and wood paneling are anything but air-tight, and I wanted to reduce drafts through my fancy new rock wool insulation.
On the walls, it was important that the first course of paneling be dead level around the entire perimeter of the room. I took my time with that, and then things got interesting.

In trim carpentry, there’s one concept that’s actually more important than level or plumb: straight. The human eye is remarkably good at picking up extremely small deviations from straight, and our walls are anything but straight – they curve and bow and hump, and everything else a wall can possibly do. Without boring you with the gory details, suffice it to say that there’s an entire Canadian forest worth of cedar shims behind these walls.

In the world of architecture, there’s this idea that if something looks easy, then you’ve done your job right. I don’t toot my own horn loudly or often, but I’m sure most people who see the new walls probably wonder what all the fuss was about. They look straight, even – easy. So, maybe I did something right.

I’m pleased with our choice to use wood – the texture and feel of solidity that it gives the walls is worth it. The subtle imperfections of the wood feel right for the house in a way that a perfectly smooth drywall surface never would.
Best of all, the kitchen no longer feels like a construction site. It feels like a room.

Looks beautiful and easy indeed. Well done and congratulations. When you first mentioned you were taking this route, I thought it was interesting, but it really looks fantastic. Better than I imagined. I’d say you chose the right profession for your talents. Looking forward to a chance to see it in person and put a hand on it.
What a timely post! We’re considering a similar plank treatment in our soon to be remodeled/finished attic of our young 1921 American Foursquare as getting blue board up there will be a real chore. Your walls and ceiling look great. I’m sure you’ll win the award for “can’t waiting,” but I am very eager to see your kitchen completed.
In lieu of your cedar shims, you might consider getting some drywall shims. They’re long strips of thin compressed cardboard–comes in packs of about thirty–that are excellent for truing up walls that are finished. Cut them to length and staple up as many as you need. Install your finished wall/ceiling and it will be golden.
Keep up the great work!
Hey Guys,
Having lived there, would love to come see what you two have done to bring back to life what we knew as “Seven Hearths.” It makes me happy to see your continued progress.
Zacki Murphy
Fabulous- and hugely preferable to sheet rock! These walls and ceiling totally made my day (which is, perhaps, sad commentary…) Keep up the remarkable work- and keep posting your progress. Good restoration work is always fascinating!
So glad we got to see this beautiful labor of love last weekend. You’re going to have a bright, sunny kitchen when it’s all done. And Weezie? Great workout!
beautiful! i’m impressed by your ability to undertake tedious time-consuming labors of love:-)