
Junk in my sump
Sometimes when you have an old house, you spend the first 75-degree day of spring in a dark corner of your basement because your sump pump’s busted. And if you can’t manage to derive at least a sliver of satisfaction from this thankless repair task, you’ll end up wearing a straightjacket and a drool bib in no time.
Our basement has two sump pits. There are no obvious water issues, but it’s nice to know that if we find ourselves in the eye of the next Atlantic hurricane I won’t have to pull out my pool noodle in order to make my way around down there. Week-to-week, the sump pits collect waste water from the washing machine and utility sink and pump it into the main sewer line.
After running a load of laundry last week, I noticed a puddle of bubbly overflow adjacent to one of the pits, a sure sign that the pump wasn’t working. I rolled up my sleeves, fished the pump out of the soapy water and found that it was hopelessly clogged with debris. When the boiler was removed last month, it left an unholy mess of rust scale, dirt and oil in its trail. I suspect that a good amount of this detritus found its way into the uncovered sump pit where it was sucked in to the pump, eventually causing it to seize.

To prevent the new pump from suffering the same fate, I fetched my Shop Vac and make quick work of the water and sludge at the bottom of the sump.

Next, I assembled the discharge plumbing to the new pump, a slightly more powerful model made of cast iron and aluminum rather than plastic. The black plastic cage strapped to the PVC pipe is a vertical switch that activates the pump when a little float inside it gets pushed up by rising water. The dead pump had a tethered switch which is similar to the floating ball you’ve seen in your toilet tank. Because the sump is small, that switch had a tendency to get caught on the sides of the pit, causing the pump to activate later than it should have. The vertical switch can’t get snagged, so it should be more reliable. The brass fitting is a check valve that keeps pumped water from flowing back into the pit once the motor clicks off.
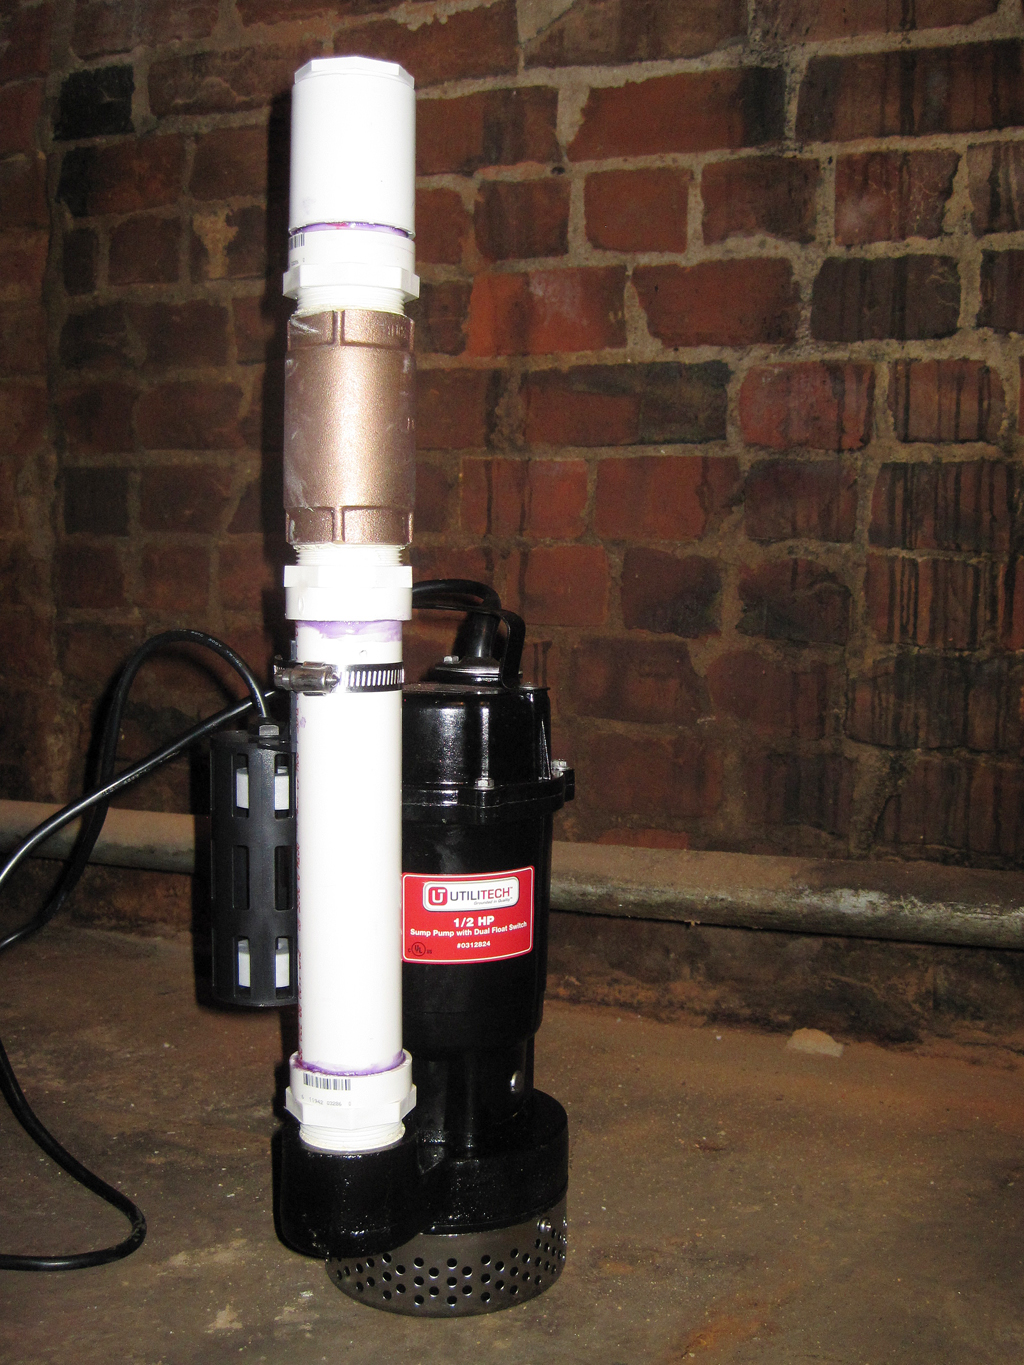
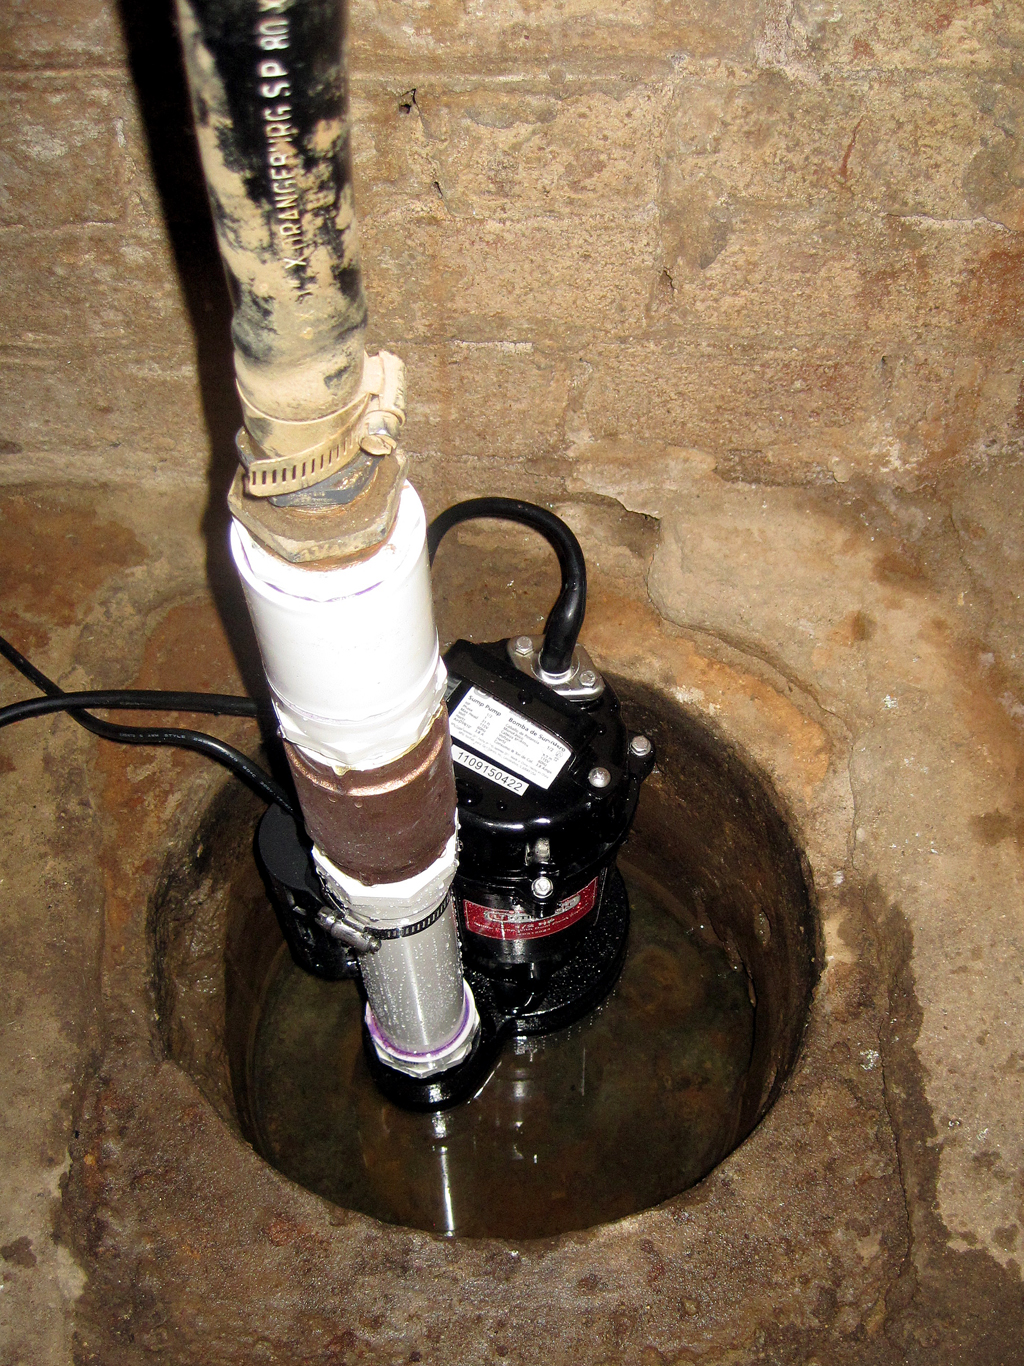
The plumbing assembly is topped by a threaded bushing that connects to the existing flexible discharge pipe. The end product looks straightforward, but even with years of DIY plumbing under my belt, I rarely manage to pull off a plumbing project with fewer than three trips to the hardware store. I think this was a four-tripper.
To test the pump, I dumped a five-gallon bucket of water into the sump and it disappeared as quickly as I could pour it. I’d be delighted to not to think about this pit ever again – or at least for a very long time.
I did manage to salvage the afternoon to enjoy the weather and admire the early-spring flowers blooming around the yard. These hellebores have been putting on a show for several weeks and don’t show any signs of letting up.


That “load” of laundry that started all this was a blanket Louis puked on in the middle of the night.