Skip to content

Posts from the ‘Plumbing’ Category

The 90/90 rule

I promised an update on the kitchen plumbing several weeks ago, so you might be surprised to learn that it isn’t done yet. To loosely paraphrase computer programmers’ “90/90 rule”: the first 90 percent of the plumbing work accounts for 90% of the job, and the remaining 10% of the plumbing work accounts for the other 90% of the job.

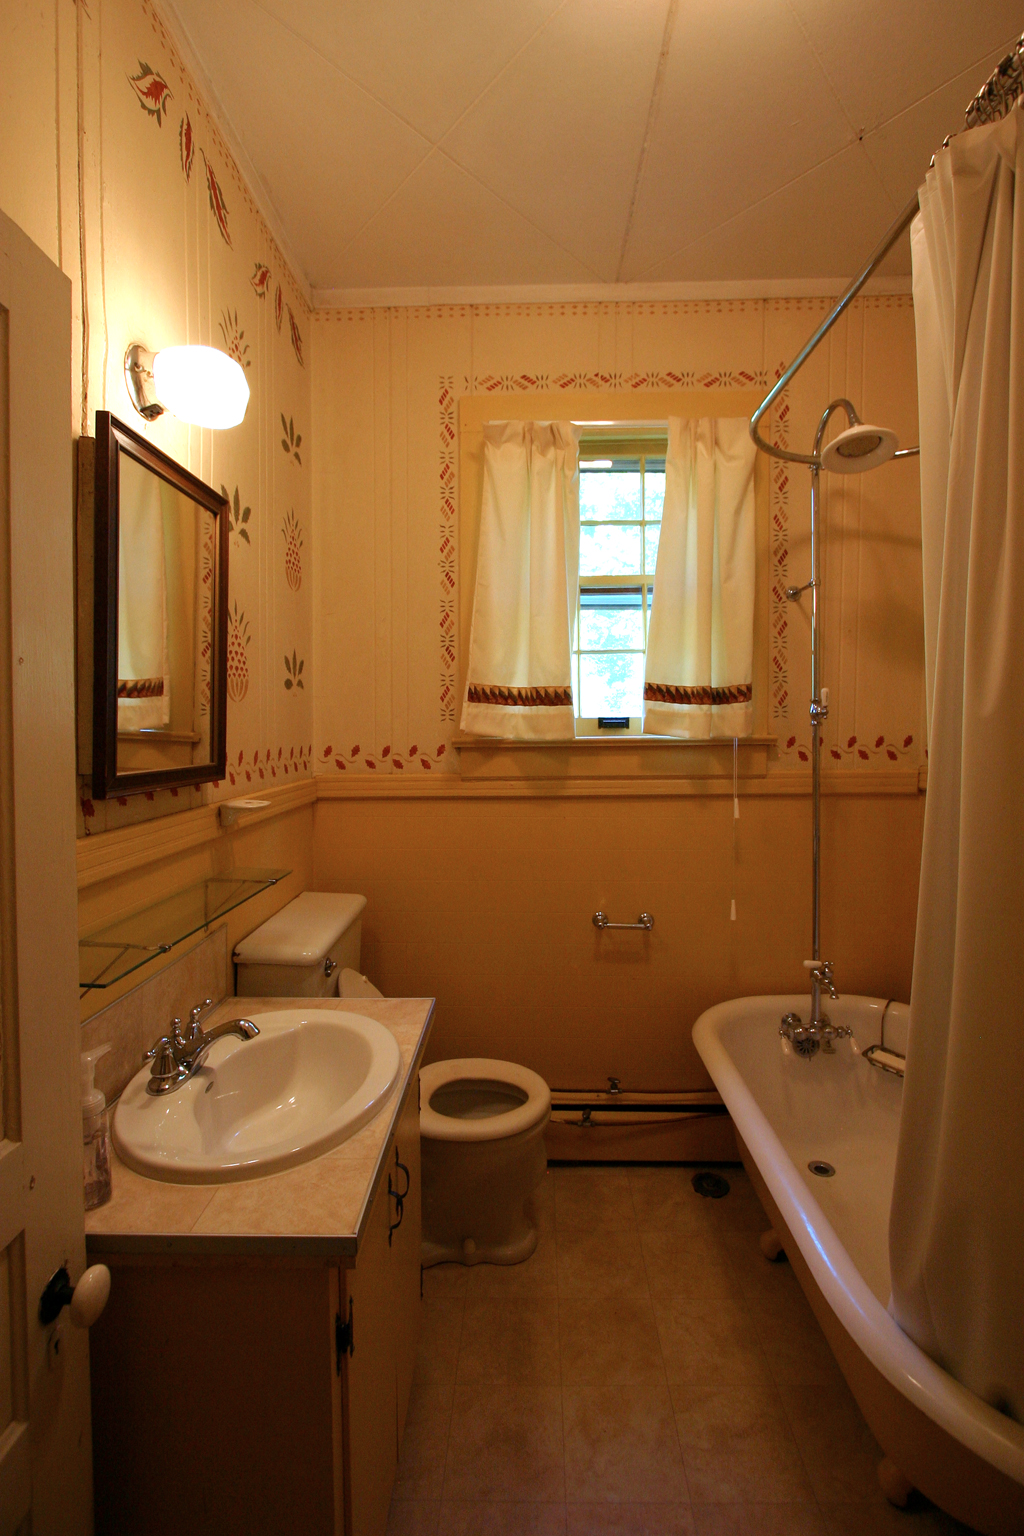
The most important pieces of the project are done: our master bath is back on line and the new water heater is doing its job. But we’re still without an upstairs guest bathroom, the gas rough-in for the range isn’t complete, and the new vent hasn’t been punched through the roof.

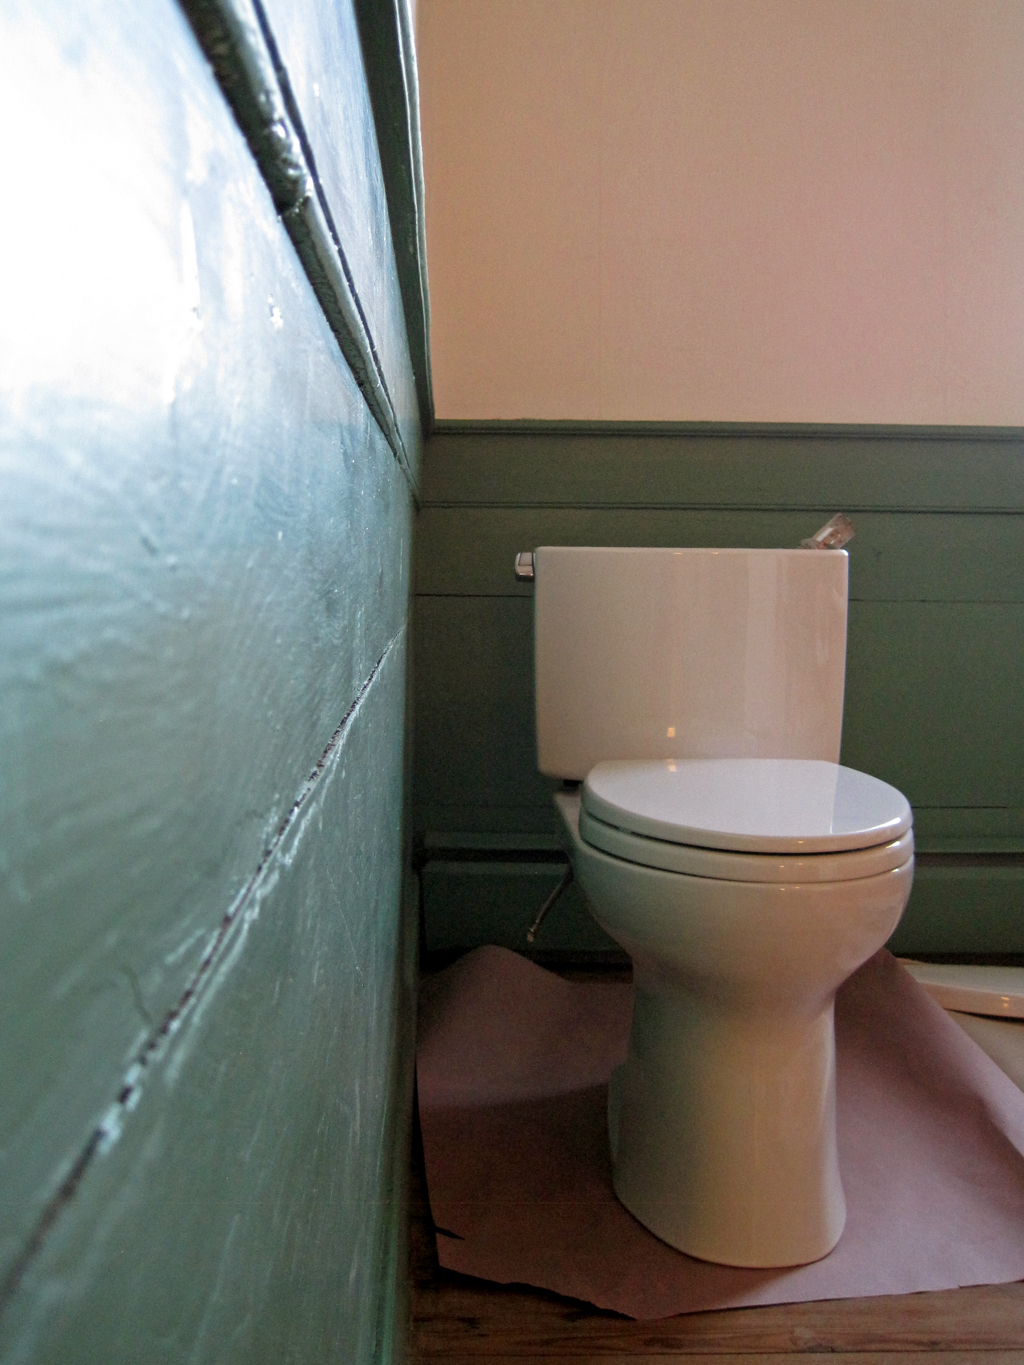
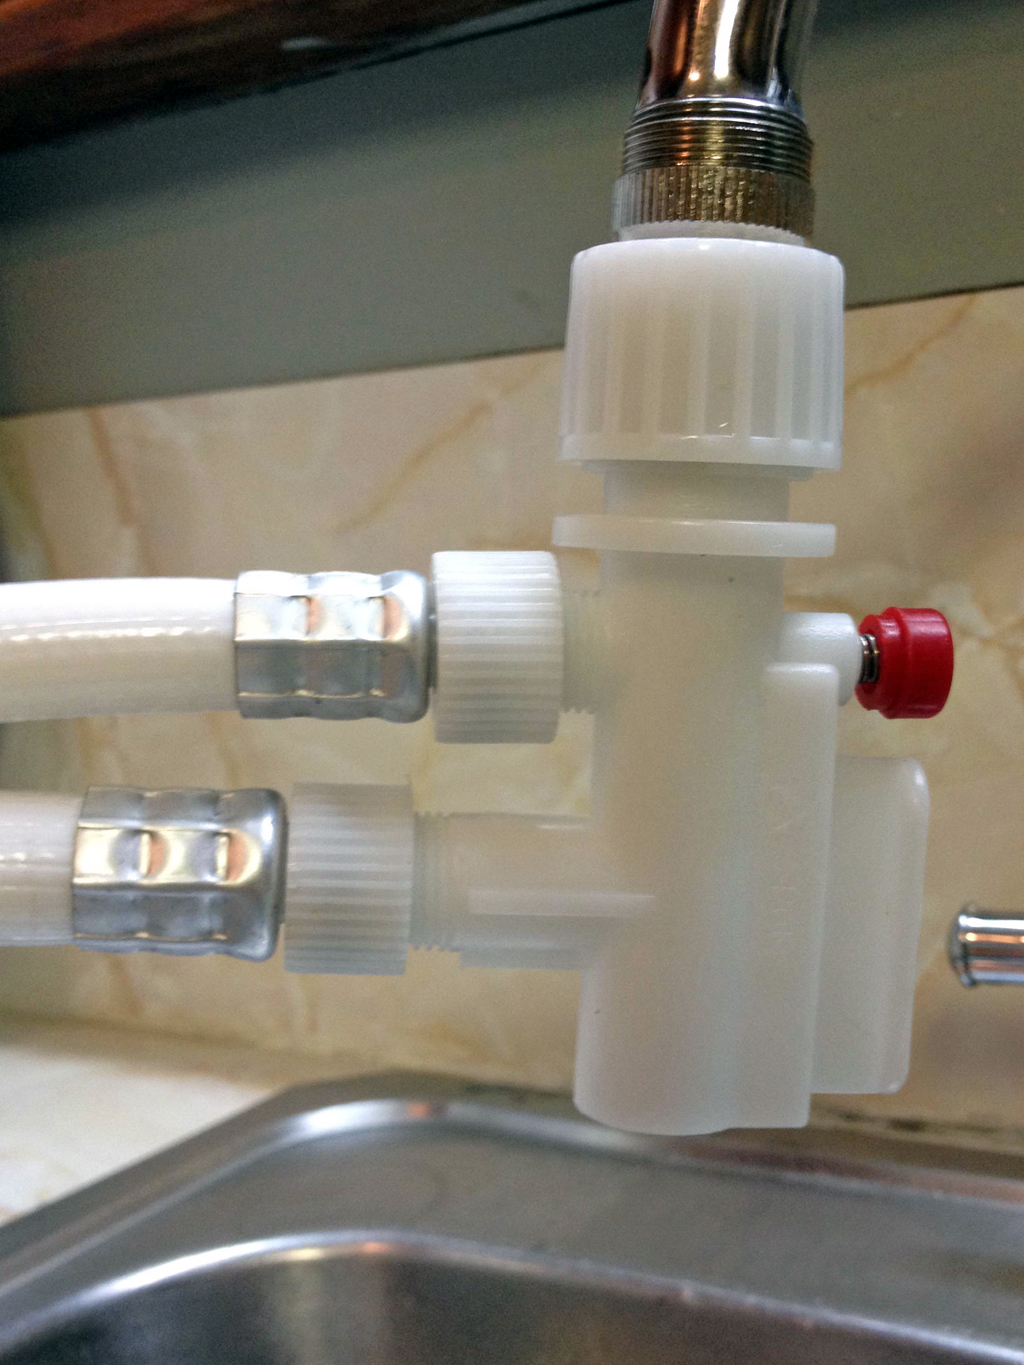
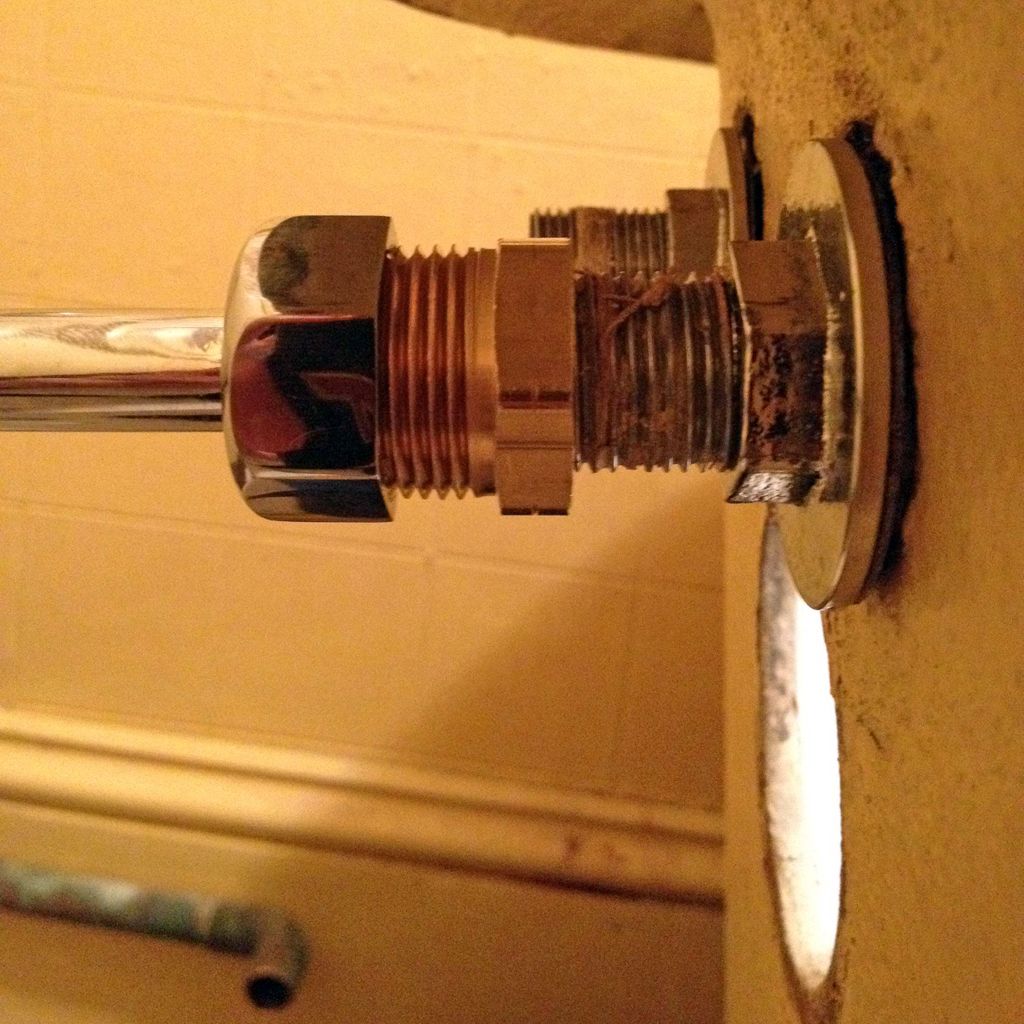
A handful of minor hiccups stole momentum from the project. First, they couldn’t figure out how to connect the new chrome supply lines to the clawfoot tub in the guest bath. I was given the option of buying a new set of pipes for $250 to replace the supplies that I’d already bought for $150. Frustrated, I spent 10 minutes looking at fittings in the plumbing aisle at Home Depot, bought a $3 brass part and made the pipes work. I can’t figure out why the plumbers weren’t more embarrassed when I showed them the solution.

brass bushing

Last week the roofer that the plumber hired to make the hole for the roof vent was too scared to get on our house. You read that right: a roofer, scared of a roof. Matt (the lead plumber) and I agreed that the guy was not invited back to finish the job, even if he could find the courage to do it. Now, we’re waiting to be worked into another roofer’s schedule.

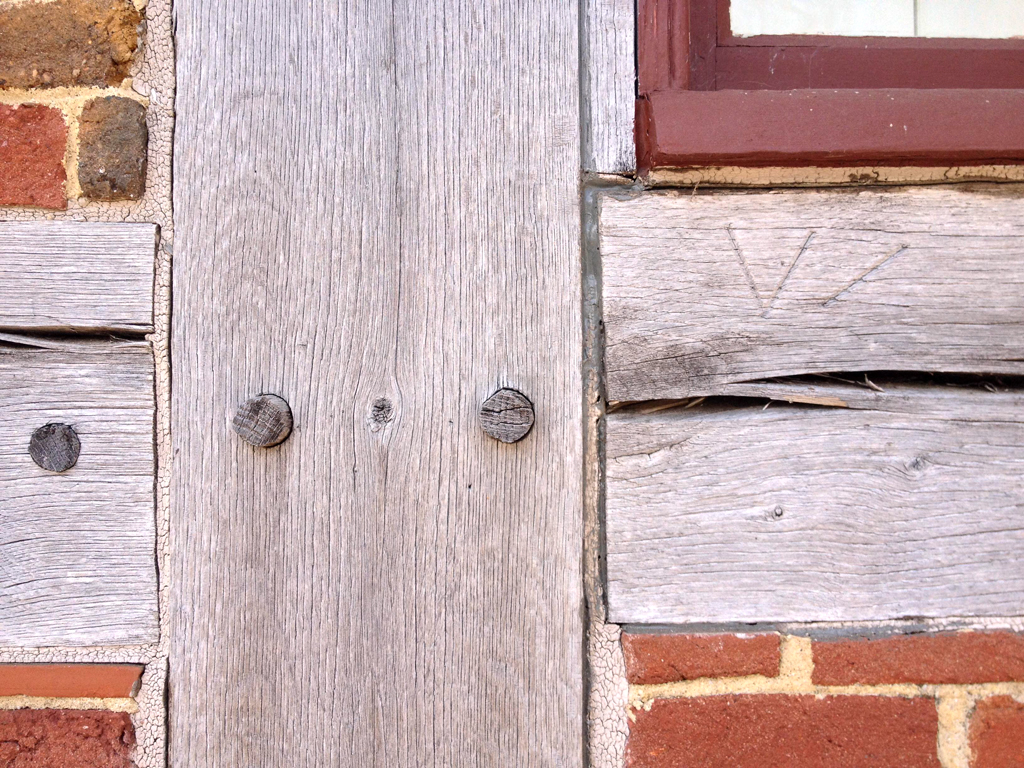
Owing to a number of weighty life distractions, I haven’t been nearly as annoyed as I should be about this whole situation. And instead of dwelling on my frustration here, I’ll just leave you with some random old house porn. Weezie and I were in Winston-Salem, NC last weekend and made a quick visit to Old Salem, a Moravian village started in the 18th century. I was particularly fascinated by the Fourth House, the oldest surviving structure in the village, dating to 1768. It’s a half-timber house, with wood posts exposed to the weather – a phenomenally bad idea in the warm, wet, termite-ridden American South. And yet, because old-growth wood is amazing, it still stands.

fourth house

If you look closely, you can see roman numerals carved into the timbers that helped the carpenters keep the custom-fit joints organized when they were erecting the house.

carpenter mark

Positive reinforcement

One day I’m going to write the crassly titled book, “Sh*t people do to old houses”.

I’ve seen some real forehead slappers while poking around aged structures. Take, for example, this attic that burnt to a crisp and was left in place by the owners with no reinforcement:

burned attic

This is a particularly egregious example of homeowner-on-house abuse, but even well-loved homes like the Ordinary House suffer scars of neglect, laziness, or well-intentioned but unknowing house butchery. The structure of our kitchen ceiling (and master bedroom floor) is a perfect example of this last category.

The joists that form the ceiling are rough-sawn 2x8s that span nearly 16′. These days, that same span is barely handled by 2x12s, and not without a fair amount of bounce in the floor. Even with this knowledge, the plumbers who last “remodeled” the upstairs bathrooms saw fit to chop out large sections of the floor joists to fit their pipes. The worst example looks like this:

chopped joist

For reasons that I can’t explain, the plumbers drilled away nearly half the width of the joist for a distance of about 6″. If that wasn’t bad enough, when faced with the fact that the shower drain was directly above the same joist, rather than simply move the shower, they cut a deep notch to allow the pipe to pass through it. For all intents and purposes, this joist had zero structural capacity once this was done. In an attempt to patch up their mess, the builders positioned a section of LVL (a very strong type of engineered lumber) next to the joist and bolted the two pieces of wood together. Then they notched that. [rolling eyes] 

Many of the adjacent joists had similar notches. It’s a testament to the resiliency of wood structures that this floor didn’t sag any more than it did.

old ceiling

While we’ve got the kitchen ceiling down, we’re replacing the upstairs plumbing. Knowing that we’d need to make more holes and notches to get the new plumbing in the floor, the plumber stopped his work so that we could assess the situation. I quickly made up my mind that we needed to reinforce the existing structure with new full-length “sisters”, joists that are glued and screwed to the existing lumber.

joist sisters

In order to run the new plumbing, I decided that we would build a completely separate ceiling structure below the existing one. Fortunately, there is enough height between floors in this part of the house that we can have two ceilings and still pull out a 9′ finished ceiling height.

Last Monday, the plumbers came and ripped out all the upstairs plumbing. The next day, a good friend and contractor colleague began reinforcing the existing ceiling and building the new one. We’re fortunate that the downstairs bathroom has a shower, so we’ve been able to bathe. Yesterday, the plumbers began piecing together the new pipes.

It’s decidedly unsexy work, but sexy’s not worth it without the peace of mind of knowing that our floors are strong and our pipes are leak-free.  In my next post, I’ll show you what the finished ceiling looks like.

Eating an elephant, one bite at a time.

In architecture school, I shied away from the professors who had short careers in the real world before retreating into academia. I was born into a family of self-sufficient builders and engineers, so I’ve long been wary of anyone who lacked the resourcefulness to translate their book learnin’ into day-to-day pragmatism. Now that I’m a registered architect with more than a decade of experience, I continue to believe that there’s no substitute for real world experience. I’ve learned more about building and designing while renovating my own houses than I have from everything else I’ve done in my career.  Until you’ve nailed together a stud wall or run a new electrical circuit, it’s hard to really appreciate what it takes to build something.

Today, I’m getting a fresh lesson in the realities of renovation. I guide clients through this process every day, so it’s easy to get desensitized to the stress of working on an old house. Unless your pot of gold is limitless, work on existing buildings is never dull.  Projects on the Ordinary House keep me in touch with the gut punches that renovation delivers regularly. It’s the best continuing education I could ask for.

Since last week, we’ve hired a plumber (really) and today a small crew of three guys got started. Two hours into the work day, my phone rang and Matt, the lead plumber, delivered this news: “Man, it looks like the last plumber in here used a chainsaw on your floor joists.”

I had two immediate reactions:

1) Thank you, Matt, for stopping work and picking up the phone. Anxious for a paycheck, many contractors would have gone ahead and done their own hack job to put themselves one step closer to pay day.

2) FML. Somebody remind me again why I enjoy this?

random plumbing

We’ve set up a meeting tomorrow with a county building inspector to get input on what he’ll pass on inspection. Loaded with that information, we’ll develop a plan to reinforce the floor joists and keep the plumbers moving. Until then, I suppose we’ll just have to get used to the toilet sitting in the upstairs hall.

toilet in hall

Wisely and slow; they stumble that run fast.

It has recently been brought to my attention that this blog is occasionally “boring.”  Touché.

If you’re here to to see regular updates of light fixtures being bedazzled with metallic spray paint, I’ll save you the effort – your blog is over HERE. If, however, you’re interested in peeking into the mind of someone who’s probably thought more about houses today than most people will this year, keep reading.

The success of any project-based blog is predicated on consistent progress, and I will admit that there has been precious little of that lately. For many reasons, some house-related, but most not, our kitchen project is crawling.  But that doesn’t mean there’s been NO progress.  Here’s what’s up:

The new kitchen window was approved.

Thanks to my fellow historic district commissioners, the window we proposed to take the place of termite-eaten siding was approved. It’ll be sized and detailed to match the windows on the library and should help to brighten our new kitchen.

Kitchen window.PC9

kitchen window shaded

We almost hired a plumber.

Before launching my search for a plumber to work on our kitchen project, I asked two trusted general contractors for a recommendation. Both had the same response: “Good luck.” And, boy, were they right. My calls were ignored by three plumbers. Another stood me up for our appointment. And one went to Weezie’s old house in Durham even though I never mentioned her name, my relation to her, or a Durham address. Of the people who did show up, only one has been consistently responsive, but his estimate is jaw-dropping. To paraphrase my dad, sometimes you can’t afford NOT to hire the expensive guy.  We’re hoping to firm up our decision this week so that we can get the worked started pronto.

busted plumbing

We bought a kitchen sink.

You see? We might not have much of our new kitchen yet, but we DO have the kitchen sink, and I can understand why you’d leave it for last: this mugger-bugger is heavy. The sink was an easy selection for us. In our last kitchen, I used an Ikea Domsjo, a deep farm-style sink that we absolutely loved. It was durable, beautiful and huge, allowing you to wash large pans without constantly banging them on the sides of the sink. We chose a 30″ fireclay, single bowl farm-style sink for our new kitchen. It’s like a mini bathtub and weighs nearly as much as I do. The under-mounted, farm-style configuration is a no-brainer; it’s timeless and perfect for an old house like ours.

farm sink

Meet Joyce

countertop dishwasher

Joyce is a countertop dishwasher that I gifted to my lovely wife for Christmas. We named the blessed machine after our pre-marital counselor because it serves in the same capacity: prevention of marital discord.

Due to my ongoing upper respiratory distress and recent travels, progress on the kitchen has slowed to a crawl. Even so, our dishes have never been cleaner, at least as long as we’ve lived in Hillsborough. Despite her diminutive proportions, Joyce cleans as well as any full-size dishwasher I’ve ever owned.

small dishwasher interior

It’s as if a normal under-counter dishwasher was squashed to 1/3 of its size. Just like a fancy full-size machine, Joyce has a stainless steel interior, separate racks for plates and cups, a silverware carrier, and an automatic detergent dispenser. Perhaps the biggest indicator that it’s not a full-size model (aside from the obvious fact that it holds fewer dishes) is that it must be hooked to the kitchen faucet for water.

dishwasher faucet connection

It’s a minor inconvenience for the automation of a task that’s universally loathed in our household. Now, if I could figure out how to extract my sinuses and run them through Joyce on the pot rinse cycle, we might be able to make tracks to the day when we can wash dishes AND use the sink at the same time.

Kitchen progress update #02: Demo, continued

To celebrate Thanksgiving in typical Weezie and Reid fashion, she worked and I worked on the house. In one uninterrupted ten hour span, I pulled down not one, but two existing ceilings.  The first layer was drywall and came down quickly. The second layer was bead board wood. Since tongue and groove planks are nearly impossible to salvage intact, I hesitated to pull it down. But they had to go for a number of reasons:

  • We’re having the plumbing for the upstairs bathrooms, both situated above the kitchen-to-be, replaced with modern pipes that will (hopefully) ensure that we never have to think about them again. We’ve been informed that the existing pipes leaked at least once in the past. I’d prefer no repeat performances above our new kitchen.
  •  While we’re at it, we’re going to pitch those new drain pipes to the other side of the room, where we can conceal a new waste line behind the refrigerator. The beam at the top of the walls is about 8 inches tall and 4 inches thick. When the Ordinary House got its first bathroom, the plumbers were wise enough not to run their pipes through this beam, hence the cast iron drain that snakes down the outside of the house. I couldn’t live with myself if I renovated this house and allowed it to stay.
  • The wood ceiling had already been butchered in several places in order to gain access to leaky plumbing.
  • Past plumbing leaks resulted in a few rotten patches in the wood planks.
  • The ceiling framing is lumpy and droopy and this can’t be corrected without access to the framing.

If you’ve never demolished an old house ceiling, you can’t begin to appreciate the level of filth that lies above it. Of course there’s dust – not normal household dust, mind you, but a fine dark dust with the same consistency and tendency to float as talcum powder. In addition there’s mouse poo, mouse nests, dead insects, paint chips, nails, old wires, chunks of wood, piles of insulation…you get the picture. When you’re pulling these things down from above, there’s no way to avoid them falling directly on top of you.

above ceiling

The ceiling(s) concealed a mishmash of components typical of a very old house: abandoned knob & tube wiring, new Romex wiring, copper water pipes, PEX water pipes, galvanized water pipes, cast iron waste pipes, PVC waste pipes, lead waste pipes, galvanized waste pipes, new plywood subfloor, original tongue and groove wood floors without subfloor, hand hewn beams, sawn beams, and engineered wood beams. It reflects the history of construction for the period that this portion of the house has been standing. The great news is that the structure is sound and should last another hundred years with no trouble.

It was a lousy way to spend the holiday, but I’m very thankful to have one of the kitchen project’s dirtiest and longest days behind me.

Before tour: the hall bath

I can sum up the upstairs hall bathroom in one word: yellow.  It’s very, very yellow, which Weezie likes to remind me is a color often associated with a frequent bathroom-based activity.  That’s my girl.

guest bathroom

The layout is a conventional three fixture setup with a toilet and sink on one side and a tub on the other. A small east-facing window admits some light without compromising privacy. At the other end of the room, a sizable linen closet pokes into the adjoining hall, providing plenty of storage space.

guest bath

Here I’ll insert my oft-repeated analysis of the condition of rooms in this house: the space is reasonably functional, but in desperate need of an aesthetic overhaul. The embossed and stenciled fiberboard wall and ceiling panels are getting a bit haggard. The vanity is plain and the vinyl floors unremarkable. One exception is the clawfoot tub which is in good shape and is worthy of preservation, though it’s been plumbed with exposed copper tubing that restricts water flow to a trickle.

And then there’s the infamous old toilet, recently replaced. Of it, Weezie writes:

While it may seem odd for such a young blog to have more than one entry about toilets already, the toilets themselves were not so young. And the last of three toilets to go certainly deserves mention. The guest bathroom beauty was a cast iron relic stamped with the year 1918 (that’s 95 years old for those of you trying to do the math in your heads). While we both enjoy Downton Abbey (at least the first season) and find the era that it depicts fascinating, that fascination does not extend to the plumbing of the time. Part of me would like to see that toilet celebrate its centennial, but deep down I know that a toilet that predates the Treaty of Versailles (or the Carter administration, for that matter) has got to go. So, for the good of our water bill (and our guests), this throne has been dethroned in favor of another Toto Drake II. I’d like to think that we’ll find a tasteful way to preserve it as some sort of yard ornament, but if you look in the dictionary, “tasteful toilet yard ornament” is the first entry under oxymoron.

For now, the hall bath works for our infrequent guests, but I’m sure there will be some more urgency about improving its condition once it sees more regular use.


Junk in my sump

Sometimes when you have an old house, you spend the first 75-degree day of spring in a dark corner of your basement because your sump pump’s busted. And if you can’t manage to derive at least a sliver of satisfaction from this thankless repair task, you’ll end up wearing a straightjacket and a drool bib in no time.

Our basement has two sump pits. There are no obvious water issues, but it’s nice to know that if we find ourselves in the eye of the next Atlantic hurricane I won’t have to pull out my pool noodle in order to make my way around down there. Week-to-week, the sump pits collect waste water from the washing machine and utility sink and pump it into the main sewer line.

After running a load of laundry last week, I noticed a puddle of bubbly overflow adjacent to one of the pits, a sure sign that the pump wasn’t working. I rolled up my sleeves, fished the pump out of the soapy water and found that it was hopelessly clogged with debris. When the boiler was removed last month, it left an unholy mess of rust scale, dirt and oil in its trail. I suspect that a good amount of this detritus found its way into the uncovered sump pit where it was sucked in to the pump, eventually causing it to seize.

busted pump

To prevent the new pump from suffering the same fate, I fetched my Shop Vac and make quick work of the water and sludge at the bottom of the sump.

junkless sump

Next, I assembled the discharge plumbing to the new pump, a slightly more powerful model made of cast iron and aluminum rather than plastic. The black plastic cage strapped to the PVC pipe is a vertical switch that activates the pump when a little float inside it gets pushed up by rising water. The dead pump had a tethered switch which is similar to the floating ball you’ve seen in your toilet tank. Because the sump is small, that switch had a tendency to get caught on the sides of the pit, causing the pump to activate later than it should have. The vertical switch can’t get snagged, so it should be more reliable. The brass fitting is a check valve that keeps pumped water from flowing back into the pit once the motor clicks off.

sump pump

The plumbing assembly is topped by a threaded bushing that connects to the existing flexible discharge pipe. The end product looks straightforward, but even with years of DIY plumbing under my belt, I rarely manage to pull off a plumbing project with fewer than three trips to the hardware store. I think this was a four-tripper.

To test the pump, I dumped a five-gallon bucket of water into the sump and it disappeared as quickly as I could pour it. I’d be delighted to not to think about this pit ever again – or at least for a very long time.

finished sump pump

I did manage to salvage the afternoon to enjoy the weather and admire the early-spring flowers blooming around the yard. These hellebores have been putting on a show for several weeks and don’t show any signs of letting up.

hellebore

#1 problem

One night two weeks ago, I shuffled to the master bathroom for a midnight tinkle.  I finished my business, flushed, and noticed that the toilet also went tinkle.  It turns out that the gasket that sealed the tank to the bowl was completely dry-rotted and only had a few flushes worth of life left by the time we moved in.

I wasn’t too distressed since I already had the house’s toilets in my replacement bullseye.  If there’s one piece of your home that should NOT be ye olde, it’s the toilets.  The crapper in question was “vintage” (code for filthy, discolored and barely functional) and had a big ol’ badonkadonk:

Almost every plumber’s preferred toilet brand is Toto.  Their toilets are purported to be extremely reliable, and the Drake model is a mainstay in plumbing circles.  You might think that toilet technology would have been perfected by now, but leave it to Japanese engineers to develop a toilet that seems like it could flush a horse with only 1.28 gallons of water.  Witness the Drake 2:

I prefer it to the normal Drake for its svelte tank profile and miserly water usage.  It’s not a budget option at $350 with the soft-close seat, but I’m reasonably confident that I’ll never have to replace it.

Installing a toilet isn’t nearly as shitty (literally or figuratively) a job as you might expect; I finished in a couple hours.  The black shims are necessary due to our old-house slanty floors.  I’ve also got to cut down the bolts and install the cover caps, but otherwise the master toilet is officially back in action.